Seasonal makeup trends

Seasonal Makeup Trends Worth Trying

Each season brings fresh makeup trends that reflect the changing colors, moods, and occasions of the time. As professional visagistes, we're always excited to see which trends emerge and how they can be adapted for different clients and situations.

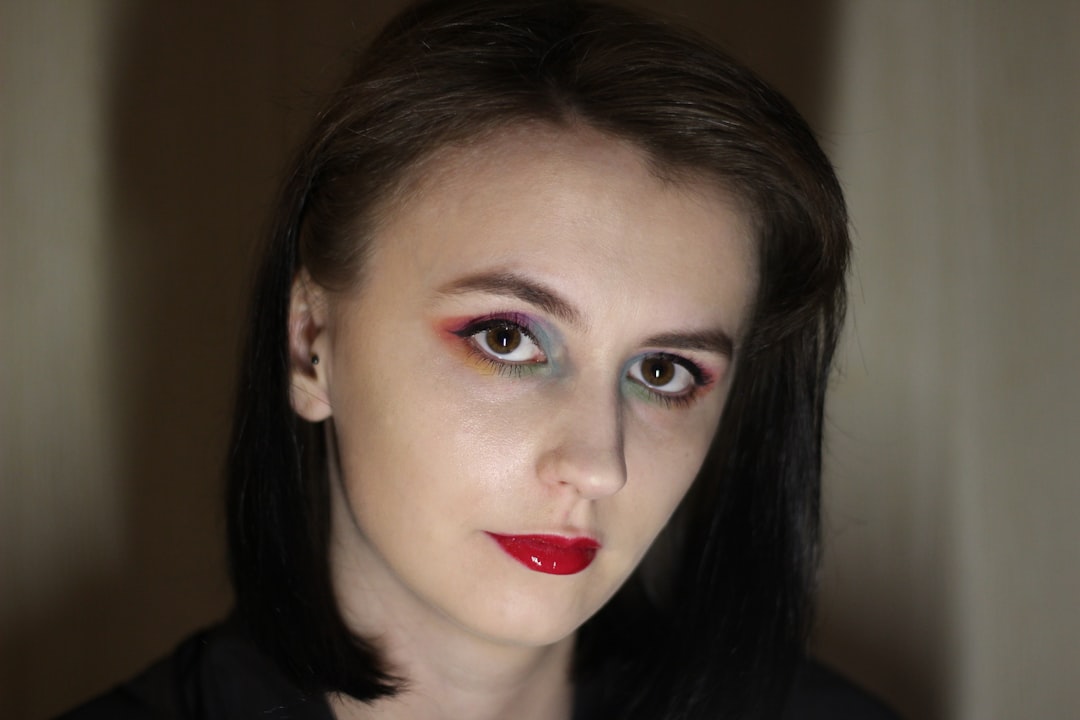
Spring 2024: Radiant and Vibrant

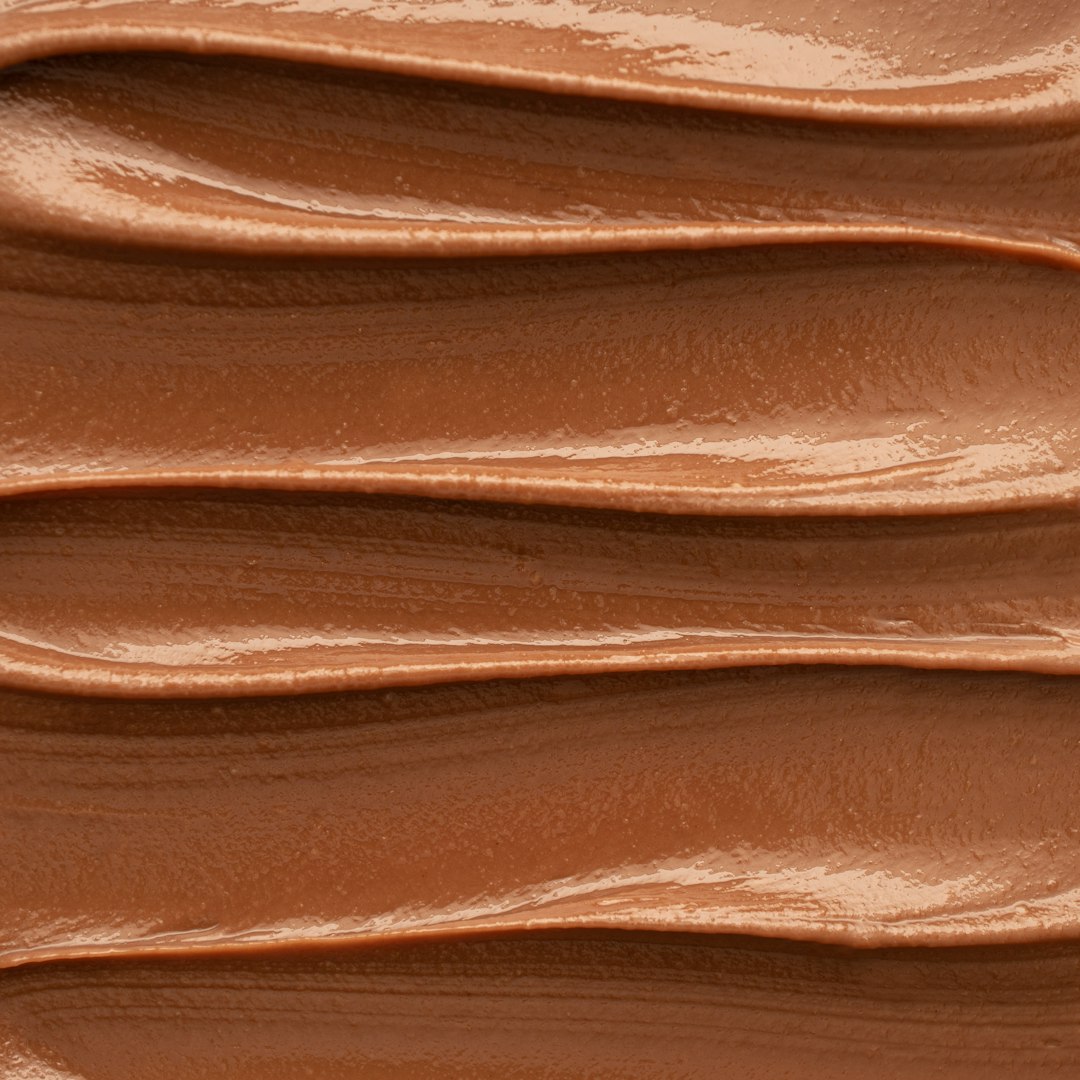
This spring is all about luminous skin with a focus on natural glow rather than heavy coverage. Dewy foundations and cream blushes in coral and peach tones are dominating the scene. For eyes, pastel liners in mint green, lavender, and baby blue create playful accents that brighten the face without overwhelming it.

How to Incorporate Seasonal Trends

The best way to try new trends is to start small. Rather than completely overhauling your makeup routine, incorporate one trending element at a time. If bold lips are trending, try a sheer version of the popular shade before committing to a fully opaque formula. Remember that trends should enhance your personal style, not dictate it.

Timeless Elements

While exploring trends can be fun, certain makeup principles remain constant: proper skin preparation, finding products that work with your skin type, and techniques that enhance your unique features. These fundamentals will always serve you well, regardless of what's trending on social media.

For personalized recommendations on which seasonal trends would work best for your coloring and features, consider booking a makeup consultation with our expert team.

Choosing the right foundation

Choosing the Right Foundation for Your Skin Type

Foundation is arguably the most important element of your makeup routine, as it creates the canvas for everything else. Finding the perfect formula can be challenging, but understanding your skin type makes the process much easier.

For Dry Skin

If your skin tends to feel tight, flaky, or lacks natural oils, look for foundations with hydrating properties. Liquid and cream formulas with words like "hydrating," "moisturizing," or "luminous" on the packaging will be your best friends. Ingredients like hyaluronic acid, glycerin, and squalane help maintain moisture throughout the day.

For Oily Skin

Those with excess sebum production need foundations that control shine and have staying power. Matte formulas, particularly those labeled "oil-free," "long-wear," or "oil-controlling" typically work best. Powder foundations can also be excellent options, as they absorb oil throughout the day. Look for ingredients like silica or clay that help manage shine.

For Combination Skin

When dealing with both dry and oily areas (typically dry cheeks with an oily T-zone), you may need to use different techniques. Satin or natural finish foundations often work well across the entire face. Alternatively, you might prefer to use a hydrating formula overall and then set oily areas with powder.

For Sensitive or Acne-Prone Skin

If your skin is reactive or breaks out easily, prioritize non-comedogenic formulas (those that won't clog pores). Mineral foundations can be particularly gentle, while formulas with salicylic acid might help manage breakouts. Always patch test new products and consider formulas free from common irritants like fragrance and alcohol.

Remember that season changes, hormonal fluctuations, and aging can all affect your skin type, so the perfect foundation for you might change over time. When in doubt, book a consultation with one of our visagistes for a personalized foundation match.

Eye makeup techniques

Eye Makeup Techniques for Different Eye Shapes

Eye makeup is all about enhancing your natural features while creating balance and dimension. Understanding your unique eye shape is the first step to mastering techniques that will make your eyes pop.

Almond Eyes

Considered the most versatile eye shape, almond eyes are characterized by a visible crease and irises that are slightly covered by the upper and lower lids. Almost any eyeshadow technique works well, but a classic approach is to apply medium shades on the lid, darker colors in the crease, and highlight the brow bone. Winged liner looks particularly flattering on this eye shape.

Hooded Eyes

With hooded eyes, the crease is partially or completely hidden when the eyes are open. The key is to create the illusion of a visible crease and lifted lids. Apply darker shadows above where your natural crease would be (visible when you look down), and keep the mobile lid (the part that moves when you blink) lighter to bring it forward. Thin eyeliner that thickens toward the outer corner helps elongate the eye.

Monolid Eyes

Monolids have little to no visible crease, creating a flatter surface from lashline to brow. Gradient eyeshadow application works beautifully—start with the darkest shade at the lashline and gradually blend to a lighter shade as you move upward. Tight-lining the upper waterline creates definition without taking up precious lid space, and a subtle wing lifts the eye.

Round Eyes

Round eyes show a visible white all around the iris and appear large and open. To elongate this eye shape, focus darker colors on the outer third of the eye in a sideways V-shape. Winged liner and lashes that are longer on the outer corners create a catlike effect that balances roundness.

Downturned Eyes

The outer corners of downturned eyes angle slightly downward. Creating lift is the goal here. Apply lighter shadows on the inner two-thirds of the lid and darker colors on the outer third, blending upward and outward. Winged liner should follow this upward angle, and adding a light color to the inner corner brightens the entire eye area.

Remember that many people have combination eye shapes, so don't be afraid to mix techniques to find what works best for you. For a personalized tutorial, consider booking a makeup lesson with our team.

Bridal makeup tips

Essential Bridal Makeup Tips for a Flawless Wedding Day

Your wedding day makeup should enhance your natural beauty while ensuring you look picture-perfect from the first look to the last dance. As professional visagistes who have worked with countless brides, we've compiled our top tips for creating timeless bridal makeup that stands the test of time.

Start with Skincare

Beautiful makeup begins with healthy skin. Ideally, establish a consistent skincare routine at least three months before your wedding. Regular cleansing, exfoliation, and hydration will create the perfect canvas. In the week before your wedding, avoid trying new skincare products that might cause reactions. On the morning of, prep your skin with a lightweight, oil-free moisturizer and a primer formulated for your skin type.

Choose Long-Lasting Formulas

Your wedding day is long and emotional, so durability is key. Opt for long-wear foundations, waterproof mascara and eyeliner, and setting powders that control shine without looking cakey. Cream blushes and bronzers layered under their powder counterparts create dimension while maximizing staying power.

Consider Photography

What looks beautiful in person might not translate well in photos. Avoid foundations with SPF for formal photography, as they can create flashback. Be cautious with highlighters—too much shimmer can look oily in pictures. Slightly intensify your blush and lip color, as photography can wash out subtle hues.

Balance with Your Overall Look

Your makeup should harmonize with your dress, hairstyle, and the overall wedding aesthetic. Traditional gowns often pair beautifully with classic makeup (defined eyes, rosy cheeks, and a natural lip), while more modern dresses might complement bolder choices. Remember that your makeup should feel like an elevated version of yourself, not a dramatic departure from your usual look.

Don't Forget Touch-Up Essentials

Prepare a small touch-up kit for your maid of honor to keep handy. Include blotting papers, your lip color, a small powder compact, and a few cotton swabs. A spritz of setting spray after your initial application and again before photos can help maintain freshness throughout the day.

Most importantly, schedule a trial run several weeks before your wedding to ensure you're completely happy with the look. This gives you time to make adjustments and ensures a stress-free experience on your big day.

Makeup kit essentials

Building Your Essential Makeup Kit: What Every Woman Needs

With countless beauty products available, building a functional makeup kit can feel overwhelming. As professional visagistes, we believe that a well-curated collection of versatile products is more valuable than a drawer full of trendy items. Here's our guide to creating a makeup kit that has everything you need without unnecessary excess.

The Foundation of Your Kit

Start with skin prep essentials: a primer suited to your skin type, a foundation or tinted moisturizer in your perfect shade, and a concealer for spot correction and brightening. Add a setting powder (pressed for convenience, loose for more coverage) and a makeup setting spray to extend wear time.

Essential Tools

Quality tools make application easier and more effective. At minimum, include a foundation brush or sponge, a fluffy powder brush, a smaller brush for blush/bronzer, and 2-3 eyeshadow brushes (one for all-over application, one for crease work, and one for detail). A lash curler makes a significant difference even without mascara.

Face Color Products

A neutral blush that mimics your natural flush, a bronzer that's only 1-2 shades deeper than your skin tone, and a subtle highlighter create dimension. Choose powder formulas if you're a beginner, or cream products if you prefer a more natural finish.

Eye Essentials

A neutral eyeshadow palette with matte and satin finishes is most versatile—look for one with light, medium, and dark shades that complement your eye color. Add a black or brown eyeliner (pencil is easiest for beginners) and a volumizing, lengthening mascara in black or brown-black.

Lip Products

Start with a tinted lip balm for casual days, a everyday neutral lipstick that enhances your natural lip color, and a bolder option for special occasions. A clear lip liner helps prevent feathering with any color.

Multi-Purpose Products

To maximize your kit's efficiency, look for products that serve multiple purposes: a cream blush that works on lips, a bronzer that doubles as eyeshadow, or a highlighting product that can be used on cheekbones, brow bones, and the inner corners of eyes.

Remember that your makeup kit should evolve with your skills and needs. Start with these basics, then add specialized products as you become more comfortable with application techniques and develop preferences. For personalized recommendations, consider booking a makeup consultation with our team.